
How to create, insert and assign Shopify custom fields in Shopify
1. Figure out what custom fields you need
Before adding custom fields, you need to know exactly which custom fields that you need to create. You also need to make sure that there is no static text in your templates.
You can find your templates by:
- Clicking on "online store" → "themes" → "customize"
- Then click on "Home page" in the top of the screen to get a drop down menu of all of your page types.
- Pick a page type (SEO.AI supports products, collections, pages and blog posts) and enter the template that you use for your site.
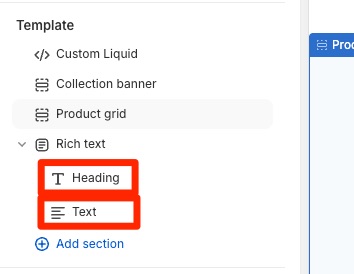
- Find the elements that you have added to your template and delete the static template text in them (if it is a field that you want to export text into from SEO.AI)
Here is an example:
At the bottom of my collection i want to have a heading and some text to add more value to my collection pages.
In order to get that I added a "Rich text" element to the bottom of my collection template, this element consists of a heading field and a text field. This element is going to be used as a mini-blog format for buying guides on all of my collection pages.
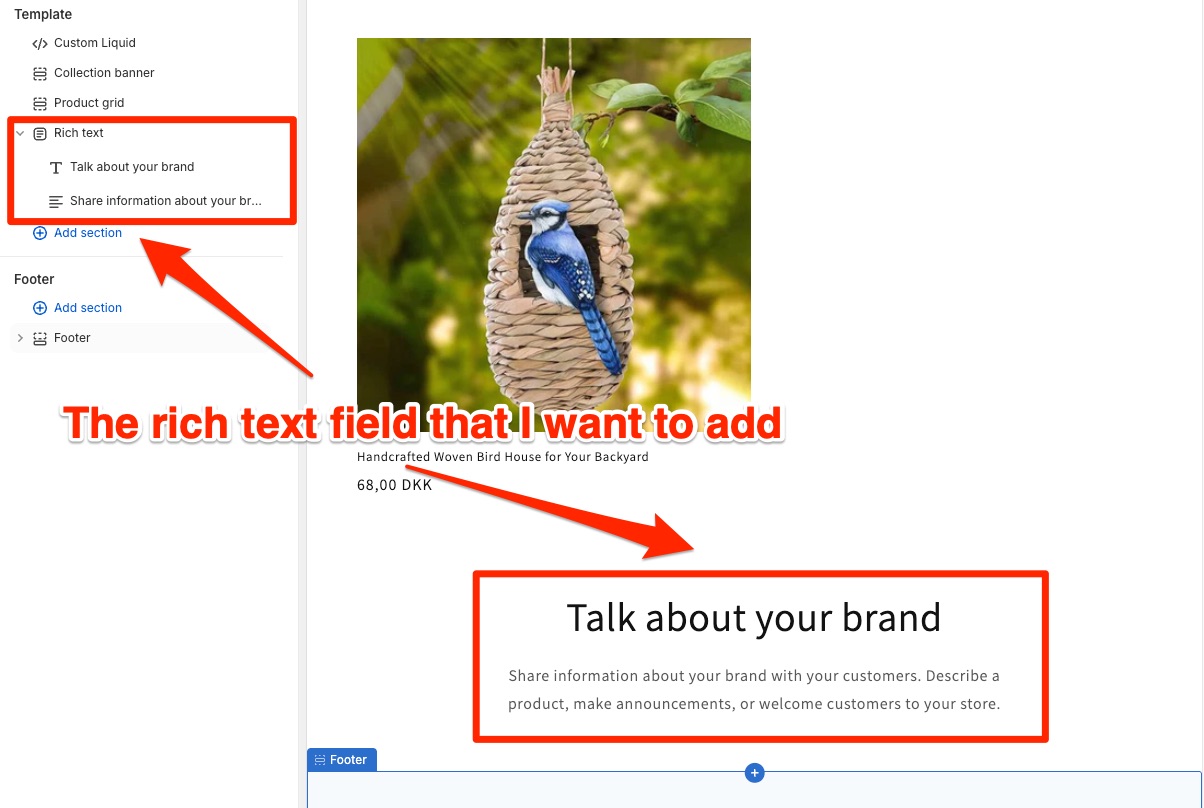
This is something that is not going to be static and is going to change depending on what collection page it is. For that reason the text "talk about your brand.." and the body "Share information…." should be empty, otherwise it will be shown on every collection page I have.
I can now see that I need to create a heading field and a text field to assign in this element, so that I can directly import text into these fields from SEO.AI.
Remember to save when leaving the page.
2. How to create custom fields
Now that we know what fields we need, it is now time to create the fields that are going to use in the template.
Here is a step-by-step guide on how to create a field: https://scribehow.com/shared/Adding_Custom_Data_in_Shopify_Settings__kgnA18eMTdW0oldOIUn0BQ
If you need multiple fields, repeat the process for the other fields.
3. Assign the custom fields in your template
Now that we have created the appropriate fields, we will go back into the template and assign them.
Navigate back into the template, click on the field you wish to assign a custom field to and click on "stack" icon. The stack icon opens a menu where you will select the field that you created for this specific part of the element.
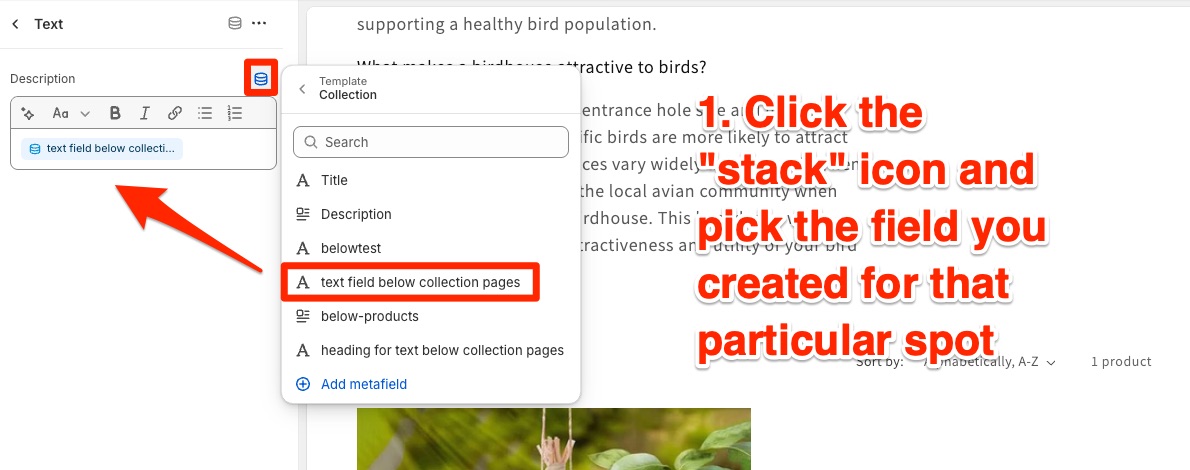
Now do the same for the other fields that you created.
You are almost finished, the only thing that is left is assigning the fields in SEO.AI, there is a seperate guide for this